How to make Apple Pie
Apple pie is more than a dessert—it's a ritual, a memory, and for many, the very taste of home. In this exhaustive guide we'll walk through everything you could ever want to know about making an exceptional apple pie: the history and culture behind it, how to pick apples, the science of pastry, detailed ingredient lists, multiple step-by-step recipes (classic, lattice-top, deep-dish, gluten-free, and vegan), advanced techniques, troubleshooting, storage, serving suggestions, and creative variations. Whether you're a total beginner or an experienced baker looking to level up, this article will give you the knowledge and confidence to bake a beautiful, flaky, flavorful apple pie.
Table of Contents
H2 Sections
Introduction
A Short History of Apple Pie
Understanding Apples: Varieties and How to Choose
Equipment You'll Need
The Science of Pie Dough (Pastry Fundamentals)
Classic Apple Pie Recipe (Step-by-Step)
Lattice-Top and Decorative Crusts
Deep-Dish and Double-Crust Variations
Gluten-Free and Vegan Apple Pie Options
Filling Variations and Flavor Add-Ins
Advanced Techniques and Troubleshooting
Baking, Cooling, and Serving
Storage, Freezing, and Reheating
Nutrition and Allergens
Frequently Asked Questions (FAQ)
Conclusion
A Short History of Apple Pie
Origins and Cultural Journey
The apple itself is native to Central Asia, but the idea of enclosing fruit in pastry stretches back much further. Early versions of fruit-filled pastries existed across medieval Europe—often savory and not always sweet. The combination of spiced fruit and pastry took many shapes before the modern apple pie emerged.
Apple pie’s association with American identity is well known, yet the dish is a British import that traveled across the Atlantic with settlers. The phrase "as American as apple pie" speaks more to cultural assimilation than culinary origination, but the apple pie as we recognize it—sweet, warmly spiced apple filling encased in a flaky double crust—became firmly embedded in American kitchens by the 19th and 20th centuries.
Regional Interpretations
Across the globe you'll find variations: Dutch apple pie with a crumb topping, French tarte tatin which is inverted and caramelized, Swedish äppelkaka and äppelpaj with cardamom or cinnamon, and American deep-dish Southern-style pies. Each region adapts the apple pie concept to local ingredients and tastes.
Understanding Apples: Varieties and How to Choose
Why Apple Variety Matters
Apples differ in sweetness, tartness, firmness, and juice content—attributes that significantly affect the texture and flavor of your pie. Some apples break down into a soft, jammy filling; others hold their shape, providing bite. Choosing the right apple, or blending varieties, is crucial.
Best Apples for Pie
Firm, Tart, and Flavorful Choices
Granny Smith: Tart and firm; classic choice that holds shape well.
Honeycrisp: Juicy, balanced sweet-tart, keeps a pleasant texture when baked.
Braeburn: Sweet-tart with depth of flavor and good structural integrity.
Jonagold: A cross with a rich, honeyed flavor and decent firmness.
Blends to Try
Half Granny Smith + half Gala/Honeycrisp: Combines tartness with fragrant sweetness.
Granny Smith + Braeburn: Bright acidity with complex flavor and good hold.
How to Select Apples at the Market
Look for firm apples without soft spots or bruises.
Smell apples—sweetness and aromatic fruitiness are good signs.
Avoid apples that feel overly lightweight for their size (may be dehydrated).
Buy apples relatively fresh; older apples can become mealy when baked.
Equipment You'll Need
Basic Tools
9- or 10-inch pie dish (metal, ceramic, or glass; each influences baking slightly).
Mixing bowls — a few sizes for dough, filling, and egg wash.
Rolling pin — for rolling dough to an even thickness.
Pastry cutter or food processor — to cut butter into flour (or pulse in food processor).
Bench scraper — for handling dough.
Peeler, corer, and knife — for prepping apples.
Measuring cups and spoons — for accuracy.
Pastry brush — to apply egg wash or milk.
Cooling rack — for proper cooling to set the filling.
Optional but Useful
Digital scale — for precise measurements; highly recommended.
Pie funnel or lattice roller — for decorative crusts.
Blind-baking weights — for pre-baking crusts if making custard or blind-baked shells.
Oven thermometer — to ensure accurate oven temperature.
The Science of Pie Dough (Pastry Fundamentals)
Understanding Ingredients
Flour
All-purpose flour is the standard. Its protein content yields enough gluten for structure without making the crust tough. Pastry flour (lower protein) gives a more tender crust; cake flour can make it too fragile. For very flaky crusts, some bakers blend all-purpose with pastry flour.
Fat: Butter vs. Shortening vs. Lard
Butter: Offers the best flavor and contributes to a flakier crust due to water content that steams during baking. However, butter melts at a lower temperature which can make the dough slightly more challenging to work with.
Shortening: Makes a very tender crust and is easier to work with because of its higher melting point, but lacks butter’s flavor.
Lard: Yields exceptional flakiness and a tender crumb; traditional in many pie cultures. Flavor is neutral but distinctive.
Combining fats (e.g., butter + shortening) is a popular technique to get flavor and ease of handling.
Liquid and Temperature
Cold water (sometimes ice water) is used to bring the dough together. The key is to keep the fat cold so it doesn't fully blend into the flour—small pieces of fat create steam pockets when baked and produce flakiness. Salt enhances flavor, and a small amount of acid (vinegar or lemon juice) can tenderize gluten, making the crust more tender.
Techniques for Flaky Dough
Cutting in fat so some pea-sized and larger chunks remain.
Minimal handling to avoid gluten overdevelopment.
Chill between steps — chilling the dough relaxes gluten and solidifies fats.
Roll evenly and fold gently for layered flakiness.
Classic Apple Pie Recipe (Step-by-Step)
This is a time-tested, double-crust apple pie recipe—complete with ingredient amounts, clear methods, and tips.
Ingredients
For the crust (makes 1 double-crust pie):
360 g (about 3 cups) all-purpose flour
1 teaspoon fine sea salt
2 tablespoons granulated sugar (optional, for a slightly sweet crust)
340 g (about 1 1/2 cups or 12 tablespoons) cold unsalted butter, cubed (or 170 g butter + 170 g cold shortening for a hybrid)
100–140 ml (about 1/2 to 2/3 cup) ice water, plus extra if needed
1 tablespoon apple cider vinegar or white vinegar (optional)
For the filling:
1.8–2 kg apples (about 6–8 medium apples), a mix of firmer varieties like Granny Smith, Braeburn, or Honeycrisp
150–200 g granulated sugar (3/4 to 1 cup), adjust depending on sweetness of apples
50–80 g brown sugar (1/4 to 1/3 cup) for depth (optional)
2 tablespoons lemon juice (to prevent browning and brighten flavor)
3 tablespoons cornstarch (or 4 tablespoons all-purpose flour) for thickening
1 teaspoon ground cinnamon
1/4 teaspoon ground nutmeg
1/8–1/4 teaspoon ground cloves or allspice (optional)
Pinch of salt
2 tablespoons unsalted butter, cut into small pieces to dot on top of filling (optional)
1 egg beaten with 1 tablespoon water for egg wash (optional)
Method
1. Make the Dough
In a large bowl, whisk together the flour, salt, and sugar.
Add the cold cubed butter and, using a pastry cutter or two knives (or a food processor), cut/pulse until the mixture resembles coarse meal with pea-sized pieces of butter. If using a food processor, pulse in 1-second bursts to avoid overworking.
Combine the ice water with the vinegar. Add to the flour mixture a tablespoon at a time, tossing gently with a fork until dough just holds together when pinched. You want it shaggy with visible bits of butter.
Turn the dough onto a lightly floured surface and gather into two discs (one slightly larger for the bottom crust). Press gently — do not knead. Wrap each disc in plastic and chill for at least 1 hour (or up to 3 days in fridge).
Tip: For a stronger flake, leave some larger butter pieces (the size of peas) in the dough.
2. Prepare the Filling
Peel, core, and slice the apples into 1/4-inch to 1/2-inch slices. Toss with lemon juice immediately.
In a large bowl, combine sugars, cornstarch (or flour), salt, and spices. Add apples and toss to coat.
Let the mixture sit for 10–15 minutes. The apples will release some juices which will combine with the starch.
3. Roll and Assemble
Preheat oven to 425°F (220°C) with a rack in the lower-middle position. If your oven runs hot or cold, use an oven thermometer.
On a lightly floured surface, roll the larger dough disc to a circle about 12–13 inches in diameter and about 1/8-inch thick. Carefully transfer to a 9–10-inch pie dish and gently ease into place, leaving an overhang.
Fill the crust with the apple mixture, mound slightly, and dot with butter pieces.
Roll out the top crust (or prepare a lattice) to about 10–11 inches. Gently place over the apples. Trim the overhang to 1/2 inch, fold the edges under, and crimp using your thumb and forefinger or a fork.
Cut vents in the top crust to allow steam to escape (unless making a lattice). Brush with egg wash and sprinkle with coarse sugar if desired.
4. Bake
Bake at 425°F (220°C) for 20 minutes to set the crust and jump-start browning.
Reduce oven temperature to 375°F (190°C) and continue baking for 35–50 minutes, until the crust is golden and the filling bubbles through vents. If the edges brown too fast, shield with foil or a pie shield.
When done, remove and set on a cooling rack. Let cool for at least 2–3 hours to allow the filling to set (important!).
Tip: If the bottom crust is soggy, pre-bake (blind-bake) the bottom shell for 12 minutes with weights, then pour in filling and continue baking.
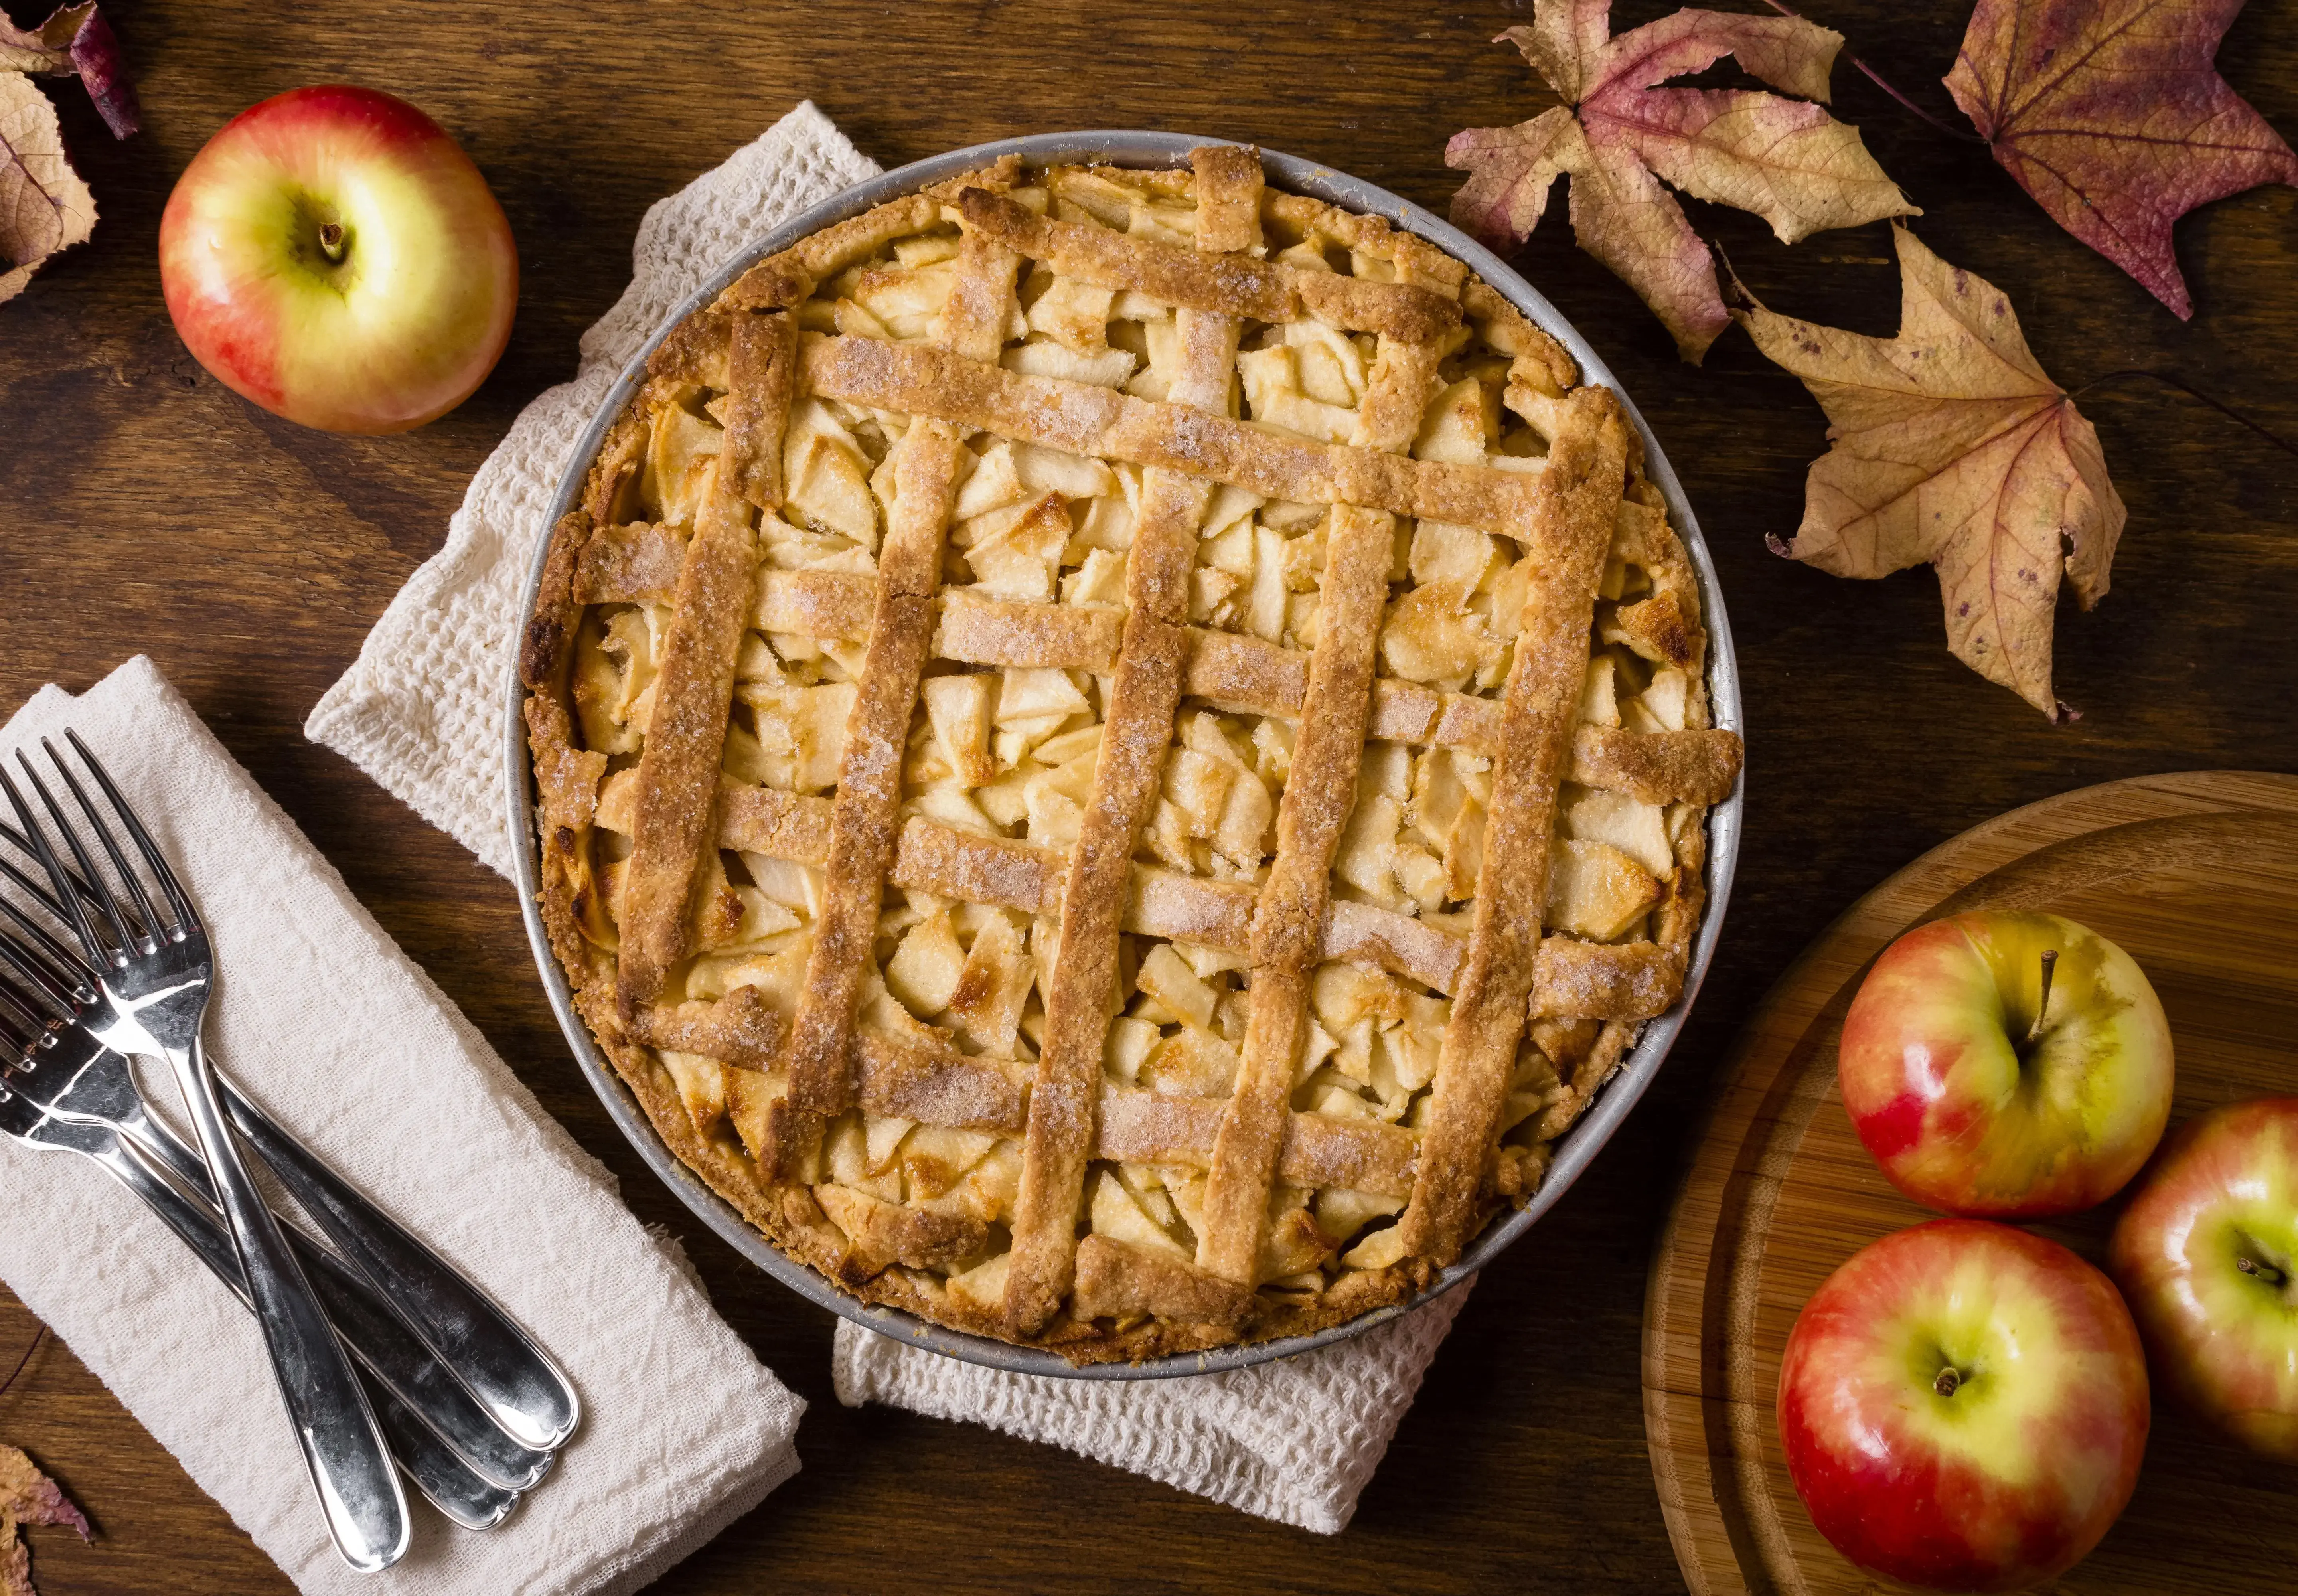
Lattice-Top and Decorative Crusts
Making a Lattice
A lattice crust is visually stunning and helps steam escape efficiently. To make a lattice: roll the top dough into a rectangle and cut even strips (1/2- to 3/4-inch wide). Lay half the strips horizontally across the pie, then weave vertical strips over and under to create the lattice. Trim and crimp.
Decorative Cutouts and Edge Treatments
Use small cookie cutters to create leaf or star shapes for accent cutouts. Chill cutouts before placing on top to keep shapes defined. For edges, consider braided, rope, or fluted crimps to make your pie distinctive.
Egg Wash and Sugars
Egg wash (whole egg or egg + water) yields a deep golden color; milk or cream gives a softer sheen. Sprinkle coarse sugar or sanding sugar for sparkle. For a salty-sweet contrast, a small sprinkle of flaky sea salt after baking can be compelling.
Deep-Dish and Double-Crust Variations
Deep-Dish Considerations
Deep-dish pies hold more filling and often require longer bake times. Use a deep-dish pan (10-inch) and increase filling quantities by 30–50%. You'll need to tent the crust with foil for longer bakes to prevent excessive browning.
Single-Crust or Topped With Streusel
If you prefer a single bottom crust topped with a crumb streusel: reduce the thickener slightly and bake until the topping is golden. The streusel adds a textural contrast.
Gluten-Free and Vegan Apple Pie Options
Gluten-Free Pie Dough
Gluten-free pie crusts use alternative flours (rice flour, brown rice flour, tapioca starch, or a prepared GF blend) plus xanthan gum or psyllium husk to mimic gluten’s binding. A recommended ratio is to use a trusted gluten-free all-purpose blend and follow the manufacturer’s instructions for hydration. Chill well and handle gently.
Vegan Apple Pie
Replace butter with vegan butter or coconut oil (solid state). A mixture of vegan butter + vegetable shortening often performs well.
Use a non-dairy milk (oat, almond) and a bit of maple syrup for brushed glaze instead of egg wash.
Note: Vegan butter and coconut oil have different melting points; you may need to adjust chilling times and handling technique.
Filling Variations and Flavor Add-Ins
Spices and Aromatics
Cinnamon is the backbone of apple pie spice.
Nutmeg adds warm complexity.
Clove and allspice are potent—use sparingly.
Cardamom lends an exotic floral note that pairs beautifully with sweeter apples.
Boozy Notes
A splash of rum, bourbon, or apple brandy folded into the filling can deepen flavor. Add a small amount (1–2 tablespoons) so alcohol doesn’t overpower and cooks off during baking.
Citrus and Zest
Add orange or lemon zest to the filling for brightness. Citrus can balance sweetness and add layered aromatics.
Add-Ins
Dried fruit (raisins, currants) — soak briefly in warm liquid before adding.
Nuts (pecans, walnuts) — add texture, toast first for best flavor.
Caramel or dulce de leche — for a richer pie, drizzle caramel between apple layers.
Advanced Techniques and Troubleshooting
How to Prevent a Soggy Bottom Crust
Blind-bake the bottom crust for 10–12 minutes with weights, then fill and finish baking.
Brush the crust with beaten egg white and bake 3–5 minutes—a quick sealant to reduce sogginess.
Thickeners: use the right amount of cornstarch or flour. Cornstarch gives a clearer, more glossy filling; flour yields a more muted finish.
Slice size: thicker slices release less moisture quickly; smaller dice can produce more juice.
Why the Filling is Runny
Not enough thickener: increase cornstarch or flour.
Apples were overly juicy: choose firmer varieties or reduce the amount of added liquids.
Underbaked: ensure the filling has had time to reach a simmer and the juices thicken.
Cooling: allow the pie to cool thoroughly (2–4 hours). Hot pies will be runny until cooled.
Crust Burns on Edges But Not Center
Tent the edges with foil or use a pie shield after edges become golden.
Bake on a lower rack to brown the bottom and prevent top scorching.
Crust is Tough
Overworking the dough developed gluten—work quickly and chill the dough.
Too much water—add water gradually until the mixture just holds together.
Baking, Cooling, and Serving
Oven Temperatures and Timing
Start hot (420–425°F / 215–220°C) for 15–20 minutes to set the crust and then lower to 375°F / 190°C to finish. This balance encourages flakiness and thorough cooking.
Cooling Time
Let the pie cool at least 2 hours before slicing—this allows the filling to gel and makes cleaner slices. Patience here pays off.
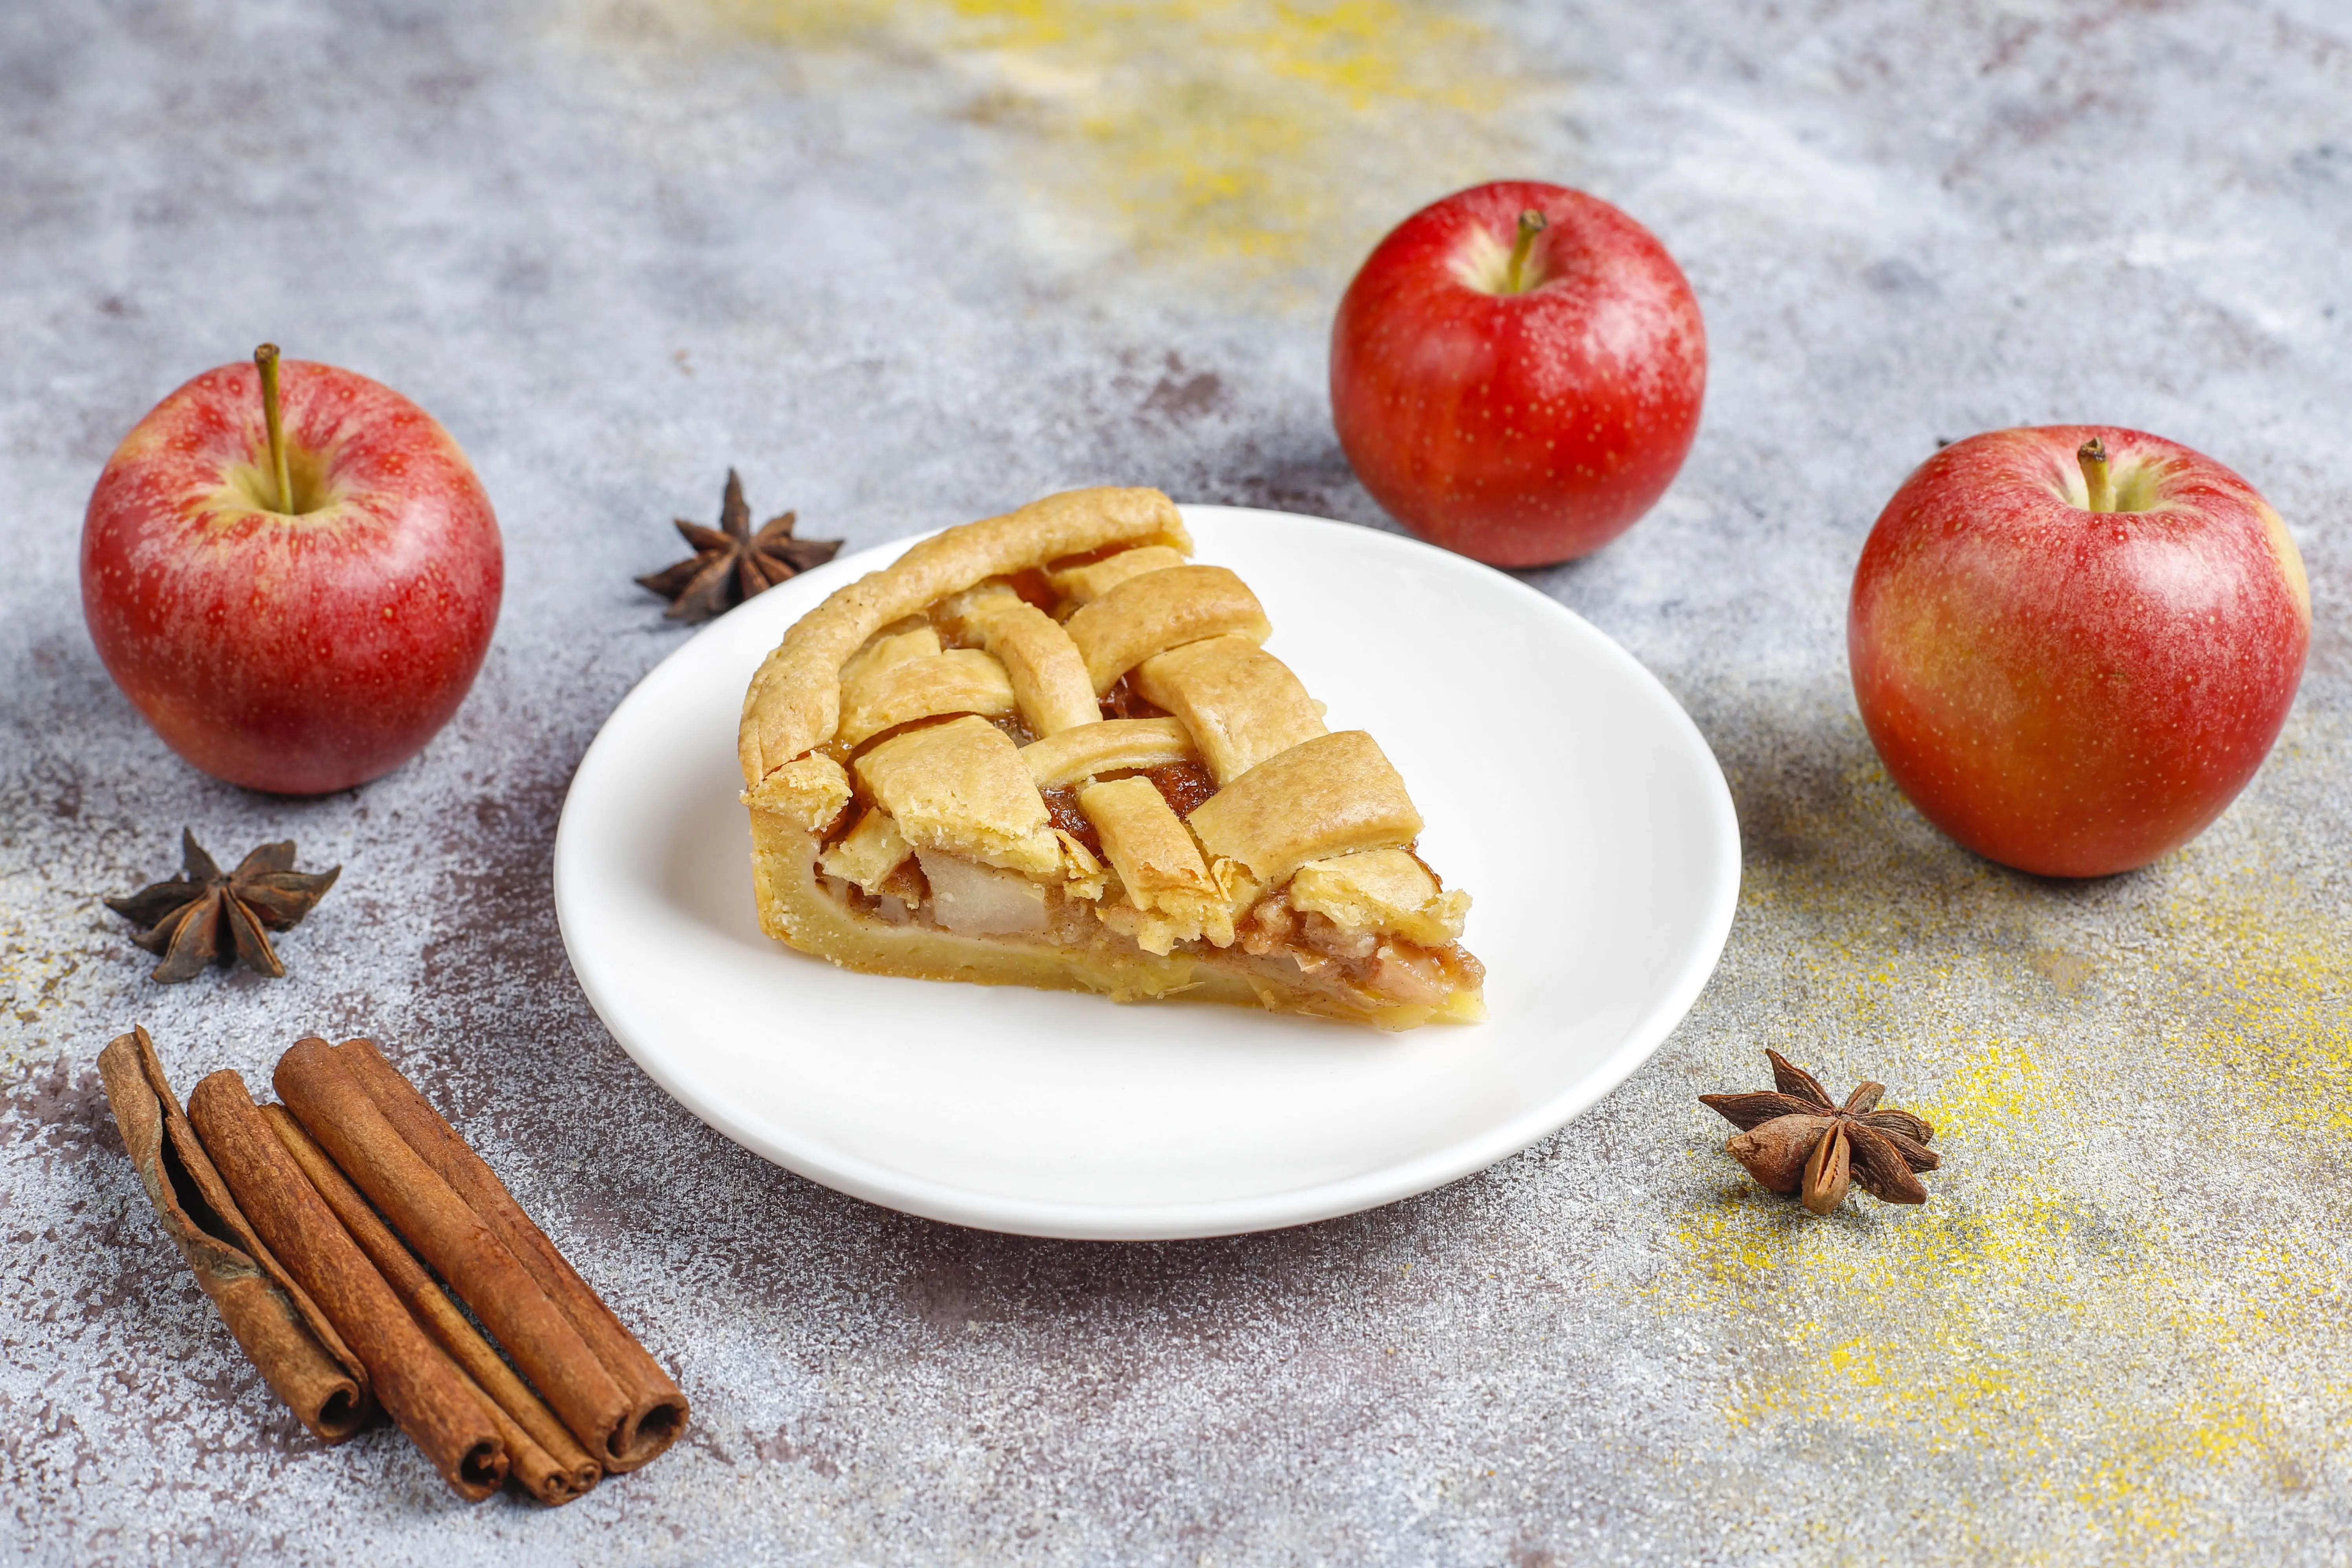
Serving Suggestions
A scoop of vanilla ice cream (classic à la mode).
A dollop of whipped cream or crème fraîche.
Drizzle of salted caramel for an indulgent touch.
Serve slightly warm (not piping hot) for the best texture.
Storage, Freezing, and Reheating
Storing Leftovers
Room temperature: 1–2 days in a covered container.
Refrigerated: up to 4–5 days. Cover the pie loosely with foil or plastic wrap.
Freezing
Unbaked: Freeze assembled pies (wrapped tightly in plastic and foil) for up to 3 months. Bake from frozen—add 15–20 minutes to bake time, and cover the edges if browning too quickly.
Baked: Wrap cooled pie tightly and freeze for up to 3 months. Thaw in the refrigerator overnight and reheat in a 350°F (175°C) oven for 15–20 minutes to refresh crust.
Reheating
Reheat slices in a 350°F (175°C) oven for 10–12 minutes for warmth and to crisp the crust; avoid microwave reheating which makes crust soggy.
Nutrition and Allergens
Basic Nutrition
Apple pie is a dessert—caloric content varies widely depending on crust fat, sugar, and portion size. A typical slice of double-crust apple pie may range from 300–600 calories per slice.
Common Allergens
Gluten (from wheat flour) — use GF alternatives to avoid.
Dairy (butter) — vegan options replace butter with plant fats.
Eggs — used in egg wash; optional for glaze.
Frequently Asked Questions (FAQ)
Can I use pre-made pie crusts?
Yes—store-bought crusts can save time and give consistent results. However, homemade dough often provides better flavor and texture. If using frozen crust, thaw partially in the refrigerator before rolling.
Do I have to peel the apples?
Peeling is traditional for a smooth texture, but leaving the peel on improves fiber content and color and can save prep time. Thicker-skinned apples may be less pleasant with peel on.
How do I make perfect lattice strips?
Use a ruler or pastry wheel for even strips. Chill strips on a tray for 10–15 minutes before weaving if they become sticky.
Why did my crust shrink?
Overworking dough, using too much water, or not allowing the dough to rest and chill can cause shrinkage. Also, stretching the dough in the pan can pull it inwards during baking.
What thickener should I use—flour, cornstarch, or tapioca?
Cornstarch: clear finish, glossy, requires higher temperature to thicken.
Flour: more opaque, dependable, and tolerant of longer baking.
Tapioca (instant or powdered): great for very juicy fruit; gives a pleasant gel and clarity.
Creative Variations and Pairings
Caramel Apple Pie
Add a layer of caramel or caramel sauce (thick—not runny) between the apples. Top with chopped toasted pecans for crunch.
Dutch-Style Crumb-Topped Pie
Replace the top crust with a brown sugar–butter–oat crumble. Bake until the crumb is dark golden and the filling bubbles.
Savory Apple Pie
Use tart apples with onions, a touch of mustard, and herbs for a savory tart that pairs with roasted meats.
International Twists
French Tarte Tatin: caramelize the apples first in butter and sugar, cover with pastry, and bake; invert before serving.
Swedish-style: fold cardamom into the dough and sprinkle the top with slivered almonds.
Tips from Professional Bakers
Keep Everything Cold
Cold ingredients mean better flakiness. Chill your bowl, and keep butter cold until the moment it needs to be mixed.
Use a Scale
A digital scale yields reproducible results and reduces waste.
Rotate Your Pan
Rotate the pie halfway through the lower-temperature phase to promote even browning, especially if your oven has hot spots.
Rest Time Is Sacred
Allow the baked pie to rest and set. Cutting too soon will result in a soupy slice.
Final Thoughts and Encouragement
Baking the perfect apple pie is a blend of technique, patience, and personal taste. Treat this recipe and the advice here as a foundation—feel free to experiment with apple blends, spices, crust types, and toppings. The best pies are those that reflect your hands, your family's palate, and your willingness to learn from each bake. Don’t be discouraged by imperfect results; every pie teaches you something new.
A Simple Checklist Before You Start
Apples chosen and prepped
Dough made and chilled
Oven pre-heated and thermometer checked
Baking tools at hand
Cooling rack ready