How to make Black Magic Cake
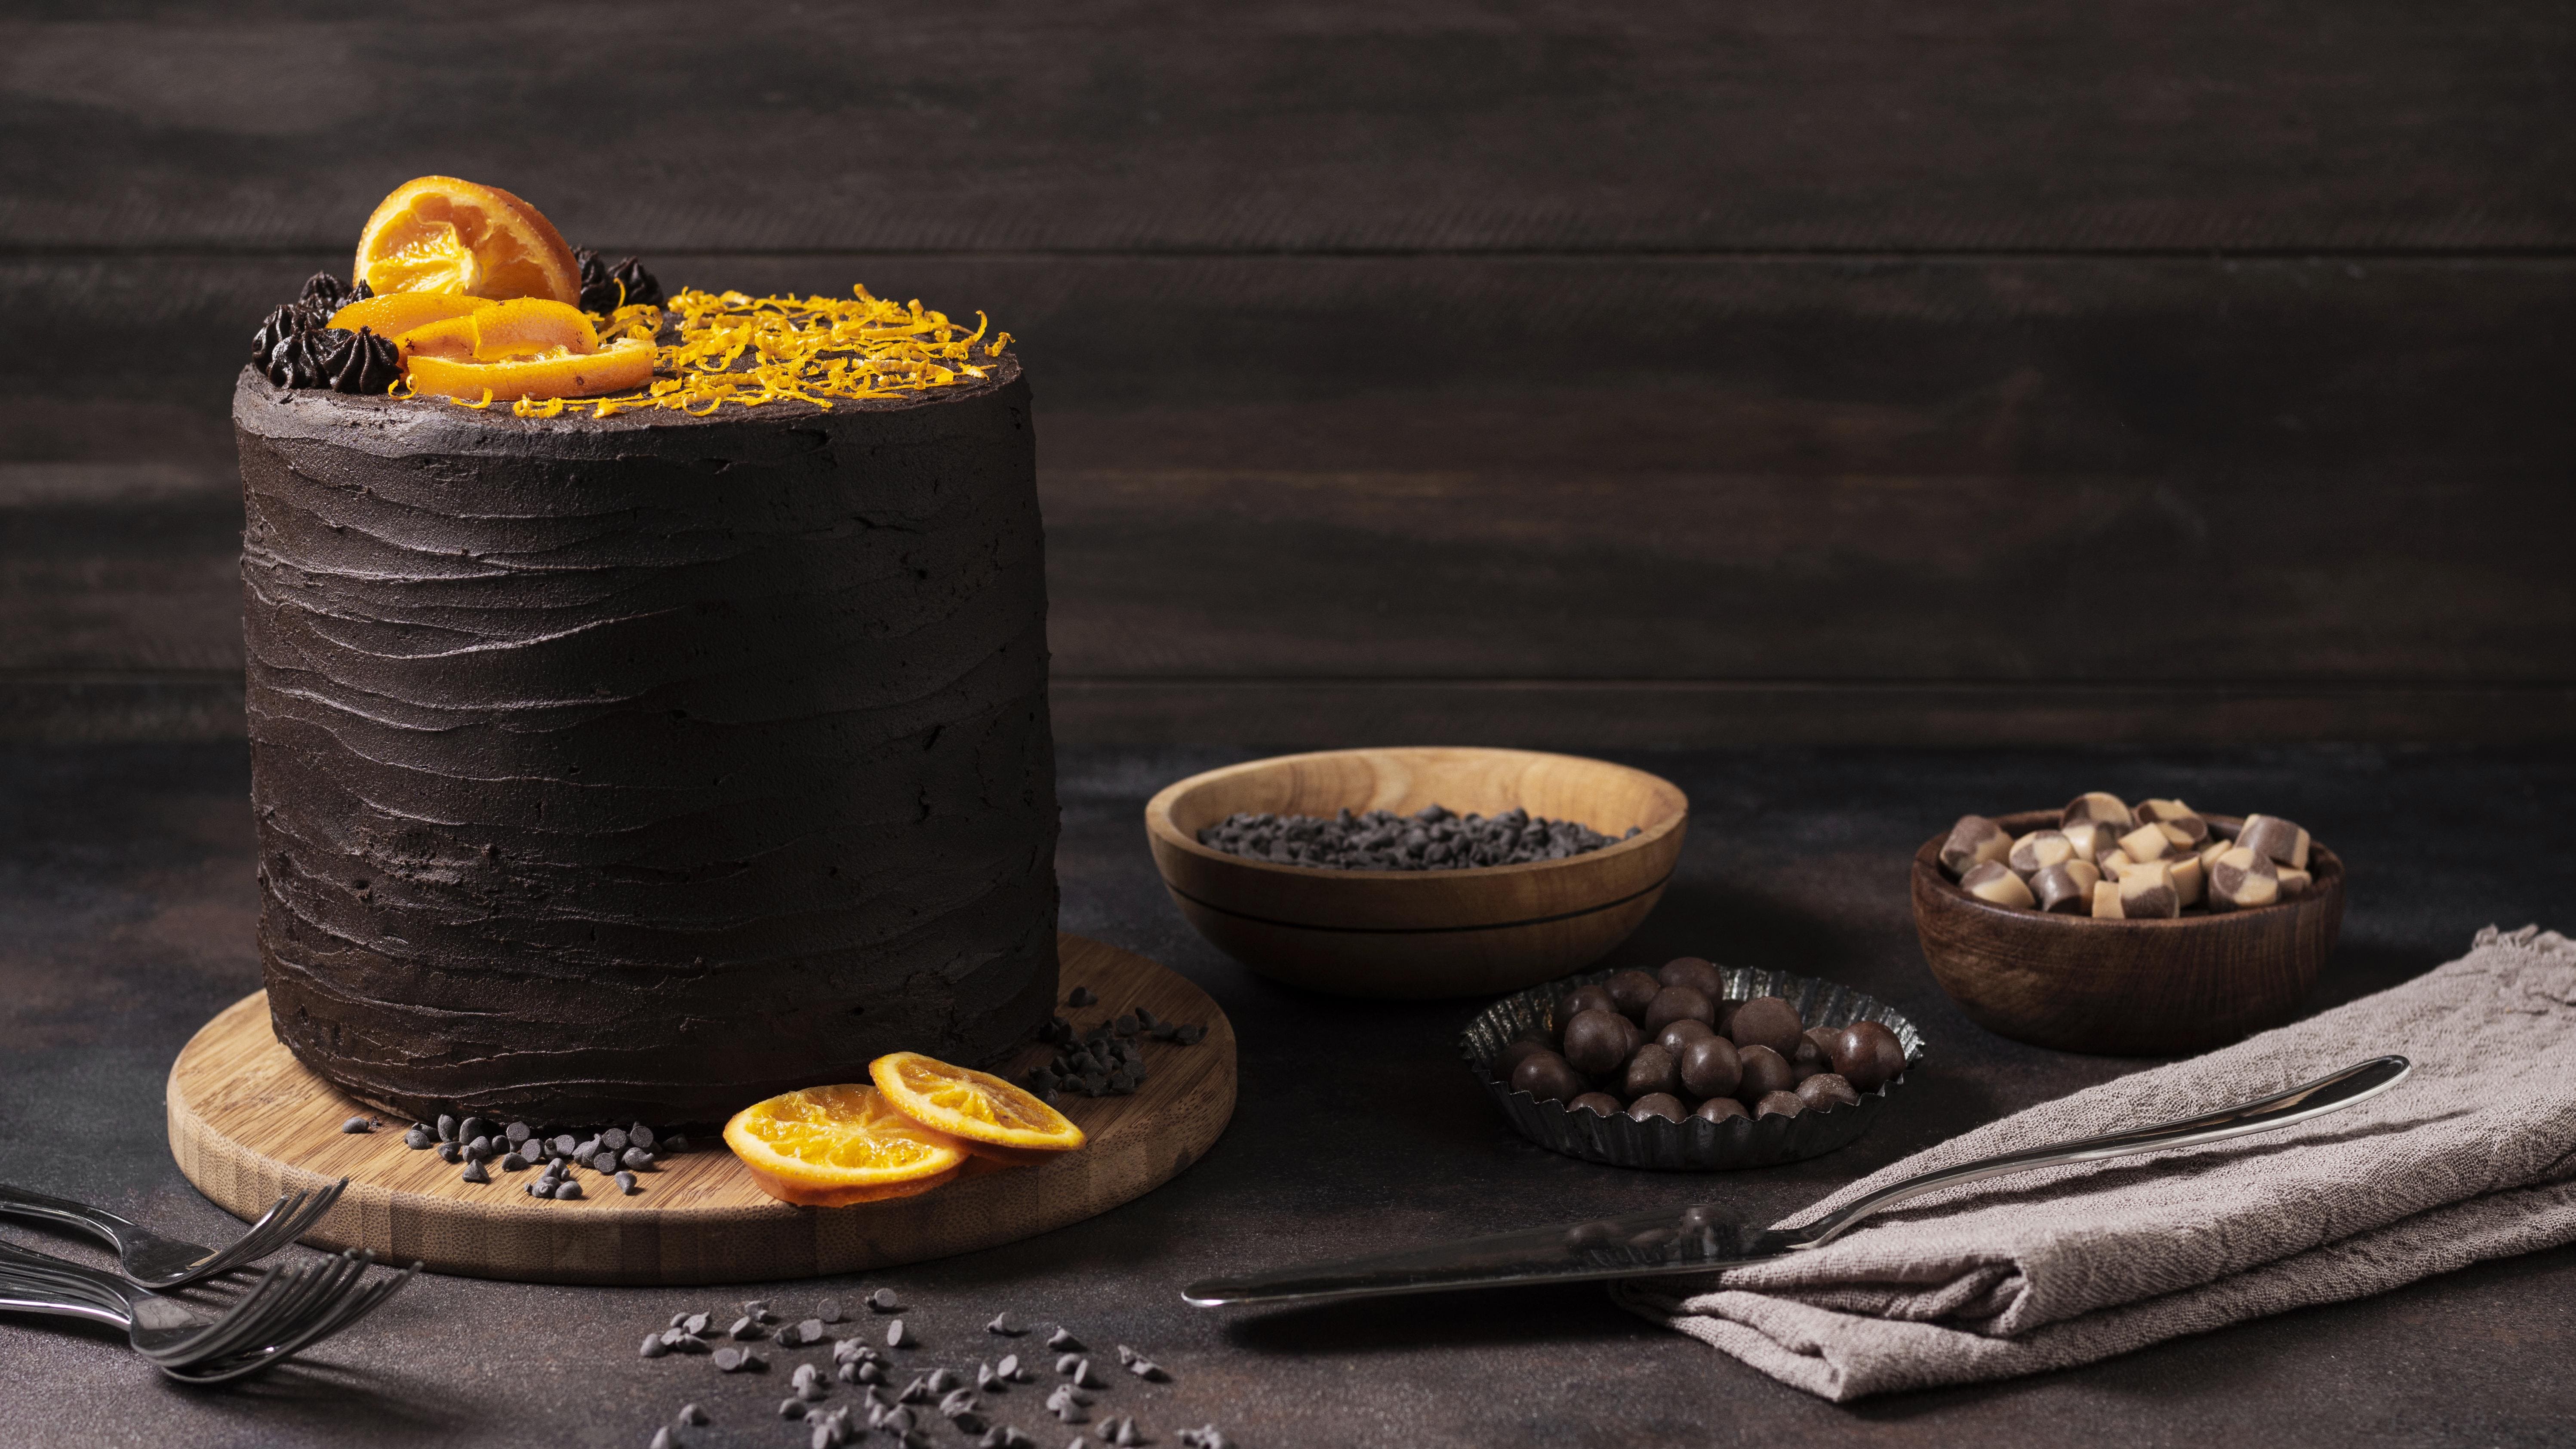
There is chocolate cake, and then there is Black Magic Cake. If you have been searching for that elusive, "holy grail" chocolate cake—the kind that is nearly black in color, possesses a crumb so moist it practically melts on your tongue, and carries a deep, sophisticated cocoa flavor—your search ends here.
The Black Magic Cake is a legendary recipe among home bakers and professional pastry chefs alike. It is famous for its unconventional use of black coffee or buttermilk (often both), which works behind the scenes to bloom the cocoa powder and create a chemical reaction that results in a tender, velvety texture. Whether you are celebrating a milestone birthday, an anniversary, or simply a Tuesday that requires a chocolate intervention, this cake is the definitive answer.
In this exhaustive guide, we are going to dive deep into the science, the technique, and the soul of the Black Magic Cake. We will cover everything from the chemistry of the ingredients to the art of the perfect frost, ensuring that even if you’ve never cracked an egg before, you can produce a masterpiece.
What is Black Magic Cake? (Featured Snippet Summary)
Black Magic Cake is a premium chocolate cake known for its exceptionally dark color, moist texture, and intense chocolate flavor. Unlike traditional butter cakes, it uses vegetable oil for moisture and hot coffee to "bloom" the cocoa powder, which intensifies the chocolate notes.
Prep time: 20 minutes
Bake time: 30–35 minutes
Difficulty: Easy/Beginner-friendly
Key Ingredients: Hershey’s Special Dark Cocoa (or high-quality Dutch-process), buttermilk, and strong hot coffee.
Best For: Birthdays, holidays, and high-end dessert cravings.
What Makes This Recipe Special?
You might wonder, "Why is this called 'Magic'?" The magic lies in the chemistry. Most chocolate cakes can be dry or crumbly if overbaked by even a minute. The Black Magic Cake, however, is incredibly forgiving.
The Hydration Factor: This batter is remarkably thin—almost like a heavy cream. This high liquid content, combined with the acidity of buttermilk, ensures the gluten doesn't toughen up.
The Coffee Secret: You won't actually taste the coffee. Instead, the hot liquid dissolves the cocoa solids instantly, releasing aromatic oils that would otherwise stay trapped.
The Oil vs. Butter Debate: While butter provides flavor, oil provides a superior mouthfeel in chocolate cakes, especially when served cold. This cake stays moist for days.
The Dark Aesthetic: By using a combination of baking soda and acidic buttermilk, the cocoa reacts to create a deep, ebony hue that looks stunning against white plates or colorful sprinkles.
The Ingredients: A Deep Dive
To achieve greatness, you must understand your tools. Here is what you will need for the perfect Black Magic Cake, along with why each ingredient matters.
The Dry Ingredients
All-Purpose Flour (2 cups): Provides the structural foundation. We use all-purpose rather than cake flour to give the cake enough "backbone" to hold its moisture.
Sugar (2 cups): It’s a lot, yes, but sugar isn't just for sweetness; it’s a humectant that keeps the cake moist.
Unsweetened Cocoa Powder (3/4 cup): For the most "magical" results, use a dark cocoa or a Dutch-processed variety.
Baking Soda (2 teaspoons): This reacts with the buttermilk to provide the lift.
Baking Powder (1 teaspoon): Provides secondary leavening for a consistent rise.
Salt (1 teaspoon): Crucial for balancing the sugar and enhancing the chocolate profile.
The Wet Ingredients
Eggs (2 large, room temperature): Eggs provide emulsification and structure.
Buttermilk (1 cup): The acidity tenderizes the flour's gluten. If you don't have it, you can make a DIY version (see substitutions).
Strong Black Coffee (1 cup, hot): This is the "magic" ingredient. It must be hot to bloom the cocoa.
Vegetable Oil (1/2 cup): Provides a consistent, moist crumb that doesn't harden in the fridge.
Vanilla Extract (2 teaspoons): High-quality pure vanilla acts as a flavor enhancer for the chocolate.
Step-by-Step Preparation Instructions
Follow these steps meticulously to ensure your Black Magic Cake rises to its full potential.
Phase 1: Preparation and Mise en Place
Before you even touch a bowl, preheat your oven to 350°F (175°C). Grease and flour two 9-inch round cake pans. For an extra layer of security, line the bottoms with parchment paper. This cake is very moist, and the parchment ensures a clean release every time.
Phase 2: Mixing the Dry Ingredients
In a large mixing bowl (or the bowl of your stand mixer), sift together the flour, sugar, cocoa powder, baking soda, baking powder, and salt. Sifting is vital here because cocoa powder is notorious for having small, stubborn clumps that don't always dissolve during mixing.
Phase 3: Incorporating the Wet Ingredients
Add the eggs, buttermilk, oil, and vanilla extract to the dry mixture. Beat on medium speed for about two minutes. The batter will look thick and dark at this stage. Scrape down the sides of the bowl to ensure no pockets of flour remain at the bottom.
Phase 4: The "Magic" Bloom
Reduce the mixer speed to low and slowly pour in the hot coffee. Note: The batter will become very thin and liquid—this is normal! Don't panic and add more flour. This thin consistency is exactly what leads to the signature velvety crumb. Stir until just combined.
Phase 5: The Bake
Divide the batter evenly between your prepared pans. Bake for 30 to 35 minutes.
The Toothpick Test: Insert a wooden pick into the center. It should come out clean or with just a few moist crumbs attached. If it’s wet, give it another 3 minutes.
Phase 6: The Cooling Process
Allow the cakes to cool in the pans for at least 10 minutes. Then, run a knife around the edges and gently invert them onto wire racks to cool completely. Do not attempt to frost a warm cake; the Black Magic Cake is so tender it will crumble under the weight of the frosting if not fully set.
Important Tips & Tricks for Success
Temperature Matters: Ensure your eggs and buttermilk are at room temperature. Cold ingredients can cause the oil to clump or the batter to break, leading to an uneven bake.
Quality of Cocoa: Since chocolate is the star, don't skimp. Look for cocoa with a high fat content (usually indicated by the "premium" label).
The Coffee Strength: You don't need expensive espresso, but the coffee should be strong. If you are a non-coffee drinker, you can use hot water, but you will lose that extra dimension of flavor.
Don't Overmix: Once you add the flour, mix only until the streaks disappear. Overmixing develops gluten, which turns a "magic" cake into a "rubbery" cake.
Common Mistakes & How to Avoid Them
Mistake | Result | How to Avoid It |
Using Cold Coffee | Cocoa doesn't bloom; flavor is flat. | Ensure coffee is steaming hot when added. |
Overbaking | Cake becomes dry and brittle. | Start checking 5 minutes before the timer ends. |
Skipping Parchment | Cake sticks to the pan. | Always use parchment circles for moist cakes. |
Measuring Flour Wrong | Cake is dense or heavy. | Use the "spoon and level" method, never scoop directly. |
Recipe Variations
The beauty of the Black Magic Cake is its versatility. You can tweak the profile to suit your specific cravings.
The Mexican Chocolate Twist: Add 1 teaspoon of ground cinnamon and a pinch of cayenne pepper to the dry ingredients for a spicy kick.
The Mocha Version: Add 2 tablespoons of espresso powder to the dry ingredients in addition to the liquid coffee.
The Gluten-Free Version: Use a high-quality 1:1 gluten-free flour blend. Because this cake is so hydrated, it actually transitions to gluten-free better than most recipes.
Cupcake Style: This recipe makes about 24–30 cupcakes. Bake at 350°F for 18–22 minutes.
Storage & Reheating
Because of the oil and sugar content, this cake actually tastes better on the second day.
Room Temperature: Store in an airtight container for up to 3 days.
Refrigeration: You can refrigerate the cake for up to a week. If you used a butter-based frosting, let it sit out for 20 minutes before serving to soften.
Freezing: This cake freezes beautifully. Wrap the unfrosted layers in plastic wrap and then foil. They will stay fresh for up to 3 months. Thaw in the refrigerator overnight.
Serving Suggestions
What should you put on top of a Black Magic Cake?
Classic Chocolate Ganache: For the ultimate "death by chocolate" experience, pour a warm silken ganache over the top.
Peanut Butter Frosting: The salty-sweet contrast of peanut butter against the dark chocolate is world-class.
Cream Cheese Frosting: The tanginess cuts through the richness of the cocoa.
Fresh Berries: A side of raspberries or strawberries adds a bright acidity that cleanses the palate.
Nutrition Facts (Estimated per Slice)
Based on 12 servings.
Nutrient | Amount per Serving |
Calories | 420 kcal |
Total Fat | 18g |
Saturated Fat | 4g |
Cholesterol | 45mg |
Sodium | 480mg |
Total Carbohydrates | 62g |
Dietary Fiber | 3g |
Sugars | 44g |
Protein | 5g |
Frequently Asked Questions (FAQ)
Can I use milk instead of buttermilk?
Yes, but you need the acid. Add 1 tablespoon of white vinegar or lemon juice to 1 cup of whole milk and let it sit for 5 minutes before using.
Will the cake taste like coffee?
Surprisingly, no. The coffee acts as a chemical catalyst. It deepens the "chocolatiness" without leaving a discernible coffee flavor behind.
Can I use this for a tiered wedding cake?
While delicious, this cake is very soft. If you use it for a tiered cake, ensure you have a very sturdy dowel system and perhaps use a slightly thicker buttercream to provide external support.
What kind of oil is best?
Any neutral oil works. Vegetable, canola, or even a very light olive oil. Avoid extra virgin olive oil as the flavor is too strong for this delicate balance.
Conclusion: Why You Need to Bake This Today
The Black Magic Cake is more than just a dessert; it’s a sensory experience. It challenges the notion that "from-scratch" baking is difficult or temperamental. With a few basic pantry staples and one "magic" cup of coffee, you can create a cake that rivals the best bakeries in the world.
The deep, dark crumb and the moist texture make it a crowd-pleaser that people will ask for year after year. It is the canvas upon which you can paint your best buttercream designs or simply enjoy with a dusting of powdered sugar.